Did you know that you can install multiple Windows and Linux using the same USB stick, without having to format it twice?
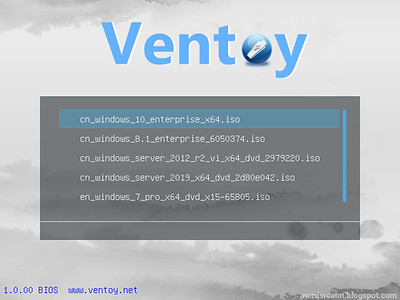
A multi-boot USB flash drive means that instead of needing to create an individual bootable flash drive for each ISO, you can run multiple ISOs from a single bootable flash drive. There are quite a few free tools available designed specifically for the creation of multi-boot USB flash drives, However in this article, we’ll be checking out the new kid on the block, a brilliant free, open-source, and portable software called Ventoy.
Ventoy supports legacy BIOS and UEFI (with and without secure boot), MBR and GPT partition tables, which makes it kind of universal.
To use Ventoy, you need a USB drive (be it a USB stick, an external hard drive, a memory card, etc.) that is large enough to hold the ISO images you are going to use. For instance, the Linux Kamarada 15.1 ISO image is 1.5GB. If you are going to use just that image, you need at least a 2GB drive. The Windows 10 version 2004 ISO image is 4.9GB. To use both images, you need at least an 8GB drive, and so on.
In addition, you need a Windows or Linux PC to prepare the USB drive.
Before proceeding, please note that the USB drive will be formatted by Ventoy, so the data on the USB drive will be lost! If you want to keep the data on it, here's what you can do: copy the data to another location (e.g. to the computer), install Ventoy on the USB drive, then move the data back to the USB drive.
It is also recommended that you remove any other storage devices connected to your computer (such as other USB sticks, external hard drives, memory cards, etc.) to prevent them from being formatted by mistake.
How to install Ventoy to the USB drive using Windows
Step 1: Start by downloading Ventoy for your operating system from the Ventoy releases page on GitHub:
https://github.com/ventoy/Ventoy/releases
Step 2: When the download is complete, extract the contents of the archive. To do this, you can use the wizard that comes with Windows itself or a free program such as 7-Zip.


To this tutorial, I’m going to stay with the default language, which is English (English).
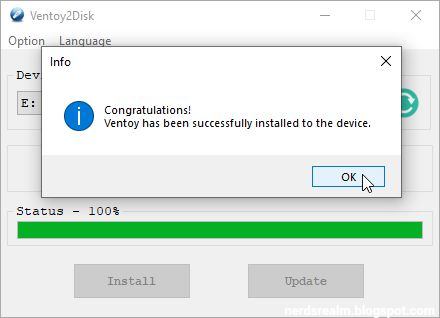
Step 4: Select the USB drive from the Device list and click Install.

Step 5: Ventoy warns you of the risk of data loss. Click Yes.