
How to create QR Code in Microsoft Excel, Word, and PowerPoint
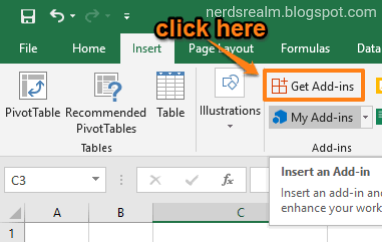
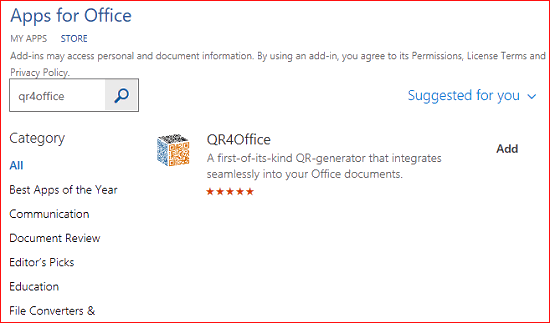
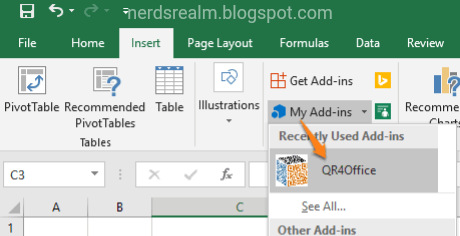
Step 1: Open Excel then access “Insert” tab in the ribbon menu. Step 2: In that tab, click on “Get Add-ins” option. Step 3: Search ...
Read Guide →Tech Answers. Plain & Simple.
Step-by-step guides for Gmail, Office, Windows, iPhone & more — written so anyone can follow along.
Step 1: Open Excel then access “Insert” tab in the ribbon menu. Step 2: In that tab, click on “Get Add-ins” option. Step 3: Search ...
Read Guide →
When locating an email by date, use the search bar at the top of the Gmail dashboard. Simply enter the relevant text/numbers and press Ente...
Read Guide →In Microsoft Excel, merging is the process of creating one cell out of two or more selected cells. Method 1 To merge cells using the Merg...
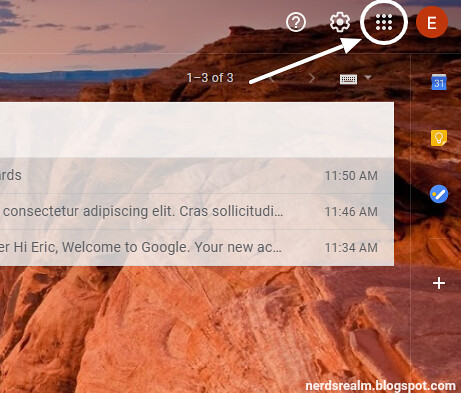
Read Guide →Step 1: Log in to your Gmail account and click on the square-like Google Apps icon on the upper right corner of your Gmail inbox. Ste...
Read Guide →How to Count the Number of Words in a Word Document Method 1 Take a look at the status bar at the bottom-right corner of the workspace. ...
Read Guide →
Sometimes you don’t want to be disturbed by email notifications from the Microsoft Outlook app on your phone, such as when you are in a meet...
Read Guide →If your iPhone is running iOS 11, you can turn off your iPhone in the Settings app. Step 1: Go to Settings -> General and scroll all the...
Read Guide →
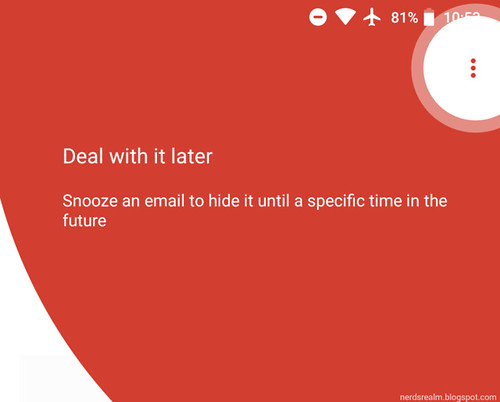
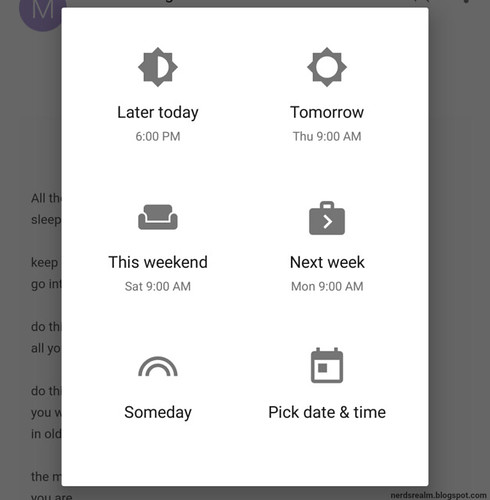
Step 1: On your Android phone or tablet, open the Gmail app Gmail. Step 2: Open an email. Step 3: In the top right, tap More icon with thre...
Read Guide →