1. By keywords.
If you’re looking for the most basic type of search, you don’t have to include any operators. For example, if you know there’s an email with a specific word or phrase somewhere in it, or if there’s a topic you’re interested in searching, simply type that phrase into the search bar and go. For example, you might search for “lunch” or “TPS report.”

2. Exact words and phrases.
Those of you familiar with basic search operators for Google search will be pleased to know that you can search for specific phrases the same way in Gmail. All you have to do is include quotation marks (“”) around the intended phrase. For example, searching for “lunch at Marco’s” will show you any emails with that phrase, but no emails that contain just the word “lunch” or just the word “Marco’s.” Be aware that you can use these quotation marks in combination with any other search operator, in case you need to search for something specific within another set of parameters.

3. By sender.
If you want to look for emails that were sent by a specific person, just use “from:”, followed by the person’s email address.

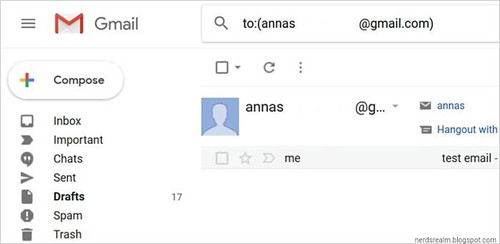
4. By recipient.
You can use the same formula when you’re looking for a specific recipient, by including “to:”, followed by your contact of choice.
5. By subject line.
With this Gmail search command, you can search for emails by the contents of their subject lines. Use “subject:” followed by a word or phrase you’d like to find. All emails that contain all or part of your search in the subject line will be presented to you.

6. By multiple senders/recipients.
If you want to pull a list of emails from multiple different potential senders, the easiest way to do it is using Gmail filter syntax: the “OR” operator or { } brackets. For example, if you wanted to view both emails from sender1@gmail.com and sender2@gmail.com, you could use “{from: sender1 from: sender2}” or “from: sender1 OR from: sender2”.

7. Excluding content.
If you want to find content that specifically doesn’t have a particular word or phrase, you can use another useful Gmail search syntax; a “-“ symbol. This is useful if you want to filter out common results. For example, if you could search for something like “project X -status” to filter out any emails that are merely status updates about the project.

8. Contextual content.
You can also use search operators to search for content based on its context and positioning in the message. With the operator “AROUND”, you can search for terms that occur around other terms. For example, you could search for “coffee AROUND today” to search for coffee invitations you sent out with the hopes of a same-day meeting.

9. Labeled or unlabeled.
With the “has:” search operator, you can filter your search results based on whether or not the messages have labels. “has: userlabels” will show you all emails that have at least one assigned label, while “has: nouserlabels” will show you the unlabeled ones. This is most useful when used in combination with other operators. Do be warned, however, that only individual messages are labeled—not the entire conversation.

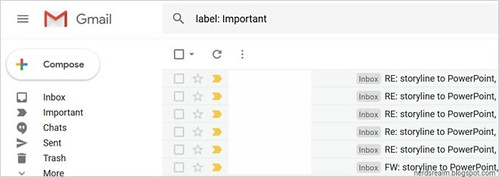
10. By specific label.
If you’re looking for messages that fall specifically under one label, use “label:” followed by the label you’re searching (such as “label: Urgent”).
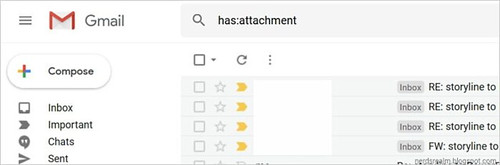
11. By attachment.
You can search only for messages that have an attachment with the “has: attachment” search operator. No messages with attachments will be displayed.
12. By file name.
The “filename:” search operator can be used to search for emails that have an attachment with a certain title, or a certain type of attachment. For example, if you remember an attachment has the word “money” in it, you could search “filename: money”, or if you remember it’s a PDF, you could search for “filename: pdf”.

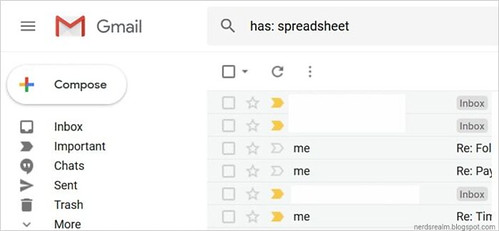
13. By drive attachment.
If your business uses G Suite and frequently sends files from Google Drive, you should know there are several search operators for specific Drive attachments. “has: drive” will show you any emails with any Drive-related attachment, while “has: document” is specific to documents, “has: spreadsheet” is for spreadsheets, and “has: presentation” is for slideshow presentations.
14. By YouTube inclusion.
When you’re trying to track down that hilarious video your coworker sent you, you can use “has: youtube” to show only emails featuring an embedded YouTube link.

15. By mailing list.
If you remember that the email came from a specific list, you can use the “list:” operator. For example, if you’re getting notifications from info@company.com, you can use “list: info@company.com” to find them.

16. By multiple keywords.
If you want to group multiple independent keywords together in a single search, the best way to do it is with ( ). For example, if you’re looking for any emails that contain references to either Godzilla or Mothra, you could include (Godzilla Mothra) as part of your search.

17. By folder (or anywhere).
The “in:” operator is designed to help you find emails in a specific folder, though you can also use the “anywhere” modifier to search throughout your entire Gmail account. For example, you might add “in: Spam” or “in: Trash”, or when you get desperate, “in: anywhere”.

18. By importance, star, snoozed, read, or unread.
Though technically these all count as separate search operators, they all serve a similar function: helping you find emails in specific sections of your Gmail account. Use the “is:” general function in combination with these conditions to track down emails in specific areas. For example, “is: starred”, “is: unstarred”, “is: snoozed”, “is: read”, and “is: unread” are all valuable to these ends.

19. By CC or BCC addresses.
Sender and recipient searches won’t apply to the CC or BCC field. To search these areas, you’ll need a separate search operator. There’s one for each: “cc:” and “bcc:”. The only exception here is that your “bcc:” search won’t allow you to find messages that you’ve received when you were the one BCC’d.

20. By a specific time period.
There’s a set of four Gmail search parameters that all help you find messages that were sent or received during a specific time period. They are: “after:”, “before:”, “older:”, and “newer:”. “Older” and “before” are practically the same, as are “newer” and “after.” Use whichever set you can remember. The date format does matter; follow the YYYY/MM/DD format to ensure you get the best results.

21. By a relative time period.
You can also run a more casual search with the operators “older_than:” and “newer_than:” to find an email that was sent before or after a given time. Use these in combination with numbers and letters to inform it how old the baseline message should be; use “d” for day, “m” for month, and “y” for year. For example, “newer_than: 2m” would call up messages that have come in during the past two months, and “older_than: 1y” would show messages more than a year old.

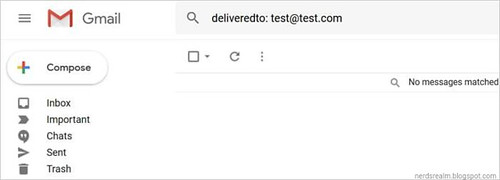
22. By address of delivery.
Though it may seem functionally identical to a recipient search, you may find a need to search for a delivery address, rather than an intended address. If you do, use “deliveredto:” followed by a contact to find emails formally delivered to that specific address.
21. By a relative time period.
You can also run a more casual search with the operators “older_than:” and “newer_than:” to find an email that was sent before or after a given time. Use these in combination with numbers and letters to inform it how old the baseline message should be; use “d” for day, “m” for month, and “y” for year. For example, “newer_than: 2m” would call up messages that have come in during the past two months, and “older_than: 1y” would show messages more than a year old.
22. By address of delivery.
Though it may seem functionally identical to a recipient search, you may find a need to search for a delivery address, rather than an intended address. If you do, use “deliveredto:” followed by a contact to find emails formally delivered to that specific address.
23. By category.
The “category:” search operator will help you find emails belonging to different categories, like Social and Updates. If you’re using this search operator by itself, I recommend you adjust your Gmail settings to arrange these categories in tabs at the top of your inbox, so you can access them with a click. Otherwise, use it in combination with other operators.

24. By message size.
There are a few different ways to search for a message by file size. If you use “size:”, you’ll pull all messages with attachments or content that make them larger than the size you type in bytes. If you use “larger:” or “smaller:”, you’ll be able to search for larger or smaller file sizes than the size you type in bytes. You can also use abbreviations to search for different values; for example, “larger: 15M” would display any messages with file size greater than 15 MB.

How to Search Your Emails in Gmail
Take a moment to remember that Gmail is a Google product—and Google is the master of search. If you haven’t relied on Gmail search in the...
Read Guide →