How to Edit a PDF File Using Google Docs
You probably know you can create and edit documents with Google Docs, but you can edit more than just .doc files. Google Drive can also c...
Read Guide →Tech Answers. Plain & Simple.
Step-by-step guides for Gmail, Office, Windows, iPhone & more — written so anyone can follow along.
You probably know you can create and edit documents with Google Docs, but you can edit more than just .doc files. Google Drive can also c...
Read Guide →Here's how you can turn the Dark mode on and off on the official YouTube app on Android smartphones. Step 1: Open the YouTube app and...
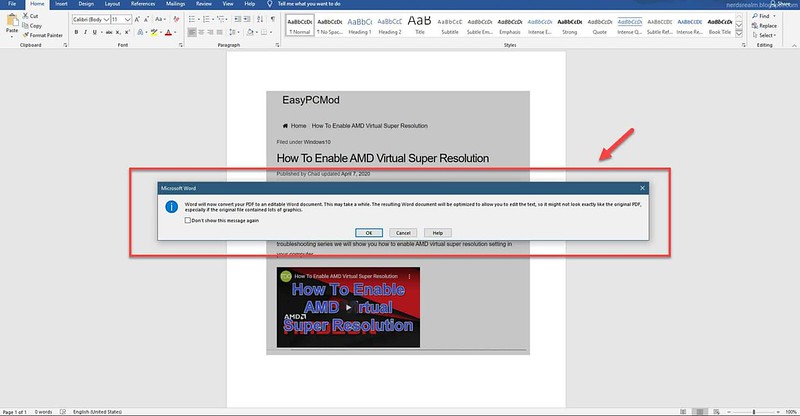
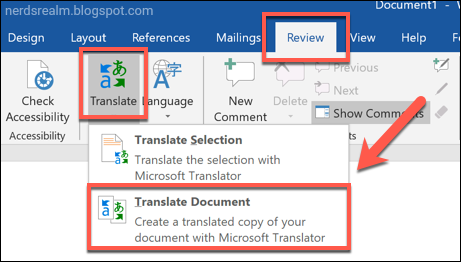
Read Guide →Editing PDF files can be a major hassle. But here’s a simple trick for editing them–and all you need is Microsoft Word. Step 1: Open Micr...
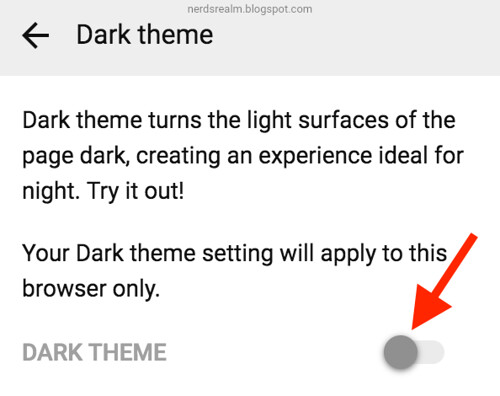
Read Guide →For those of you looking to turn your YouTube dark mode on in your web browser, start by navigating to YouTube.com Step 1: Go to YouTube a...
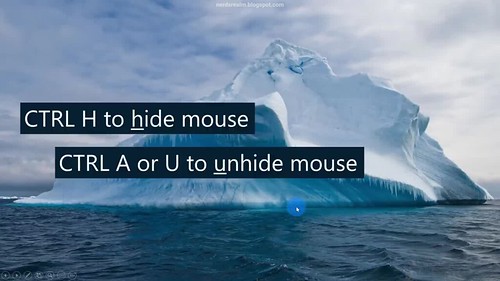
Read Guide →In this step-by-step tutorial, learn how to use the best shortcut keys while in slideshow mode in Microsoft PowerPoint. Shortcut #1: Whi...
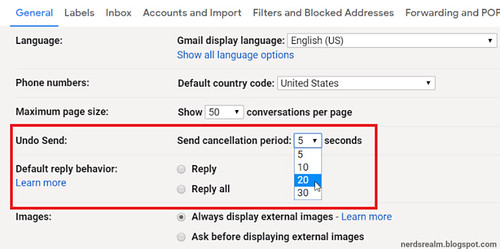
Read Guide →Have you ever accidentally sent a message from your Gmail account, only to realize, seconds later, that you made a mistake? Whether you s...
Read Guide →Translate words or phrases in Word, Excel, or PowerPoint Step 1: In your document, spreadsheet or presentation, highlight the cell or tex...
Read Guide →
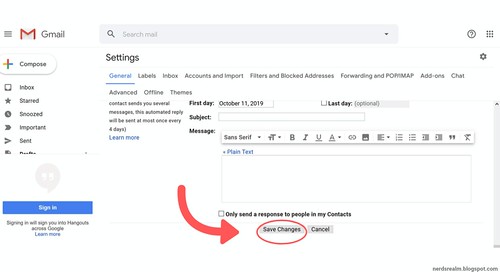
Emails come in throughout the day — sometimes at really inconvenient moments. If you don’t have the time to deal with an email when it appea...
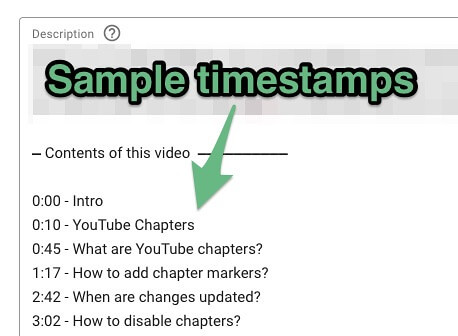
Read Guide →For each of your uploaded videos, you can add video chapters. Chapters break up your video into sections, each with an individual preview...
Read Guide →