
This tutorial explains in a detailed 13 easy step-by-step procedure on how to install Windows 7 using the Windows 7 installation CD.
This tutorial is created by me. I have really worked hard on this post as I do in every other post so I have one request. Please show your appreciation by not stealing this post and do not copying it as is without giving me the credit for it. I would really appreciate it. Thank You!
Before you start this procedure.
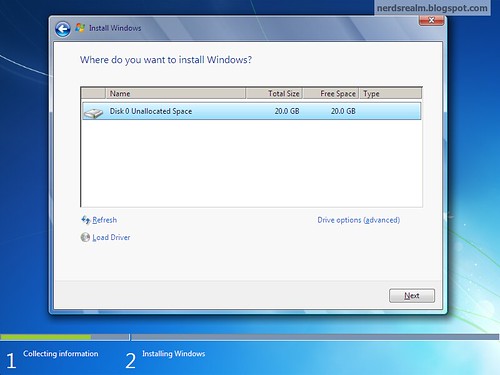
- Make sure to back up your data: First, make sure there is absolutely NOTHING you cannot afford to lose on the drive you're going to install Windows on (let's say the C: drive.)
- Make sure your network cable is unplugged from the wall (to avoid getting viruses from your local area network).
- You have a Windows 7 installation CD with a valid Product Key.
- Hardware driver discs that shipped with the PC and any components you added on (Optional, but VERY strongly recommended)
- Time & Patience (you need to be calm and give the setup a little time)
32-bit or 64-bit Version You need to decide whether to install the 32-bit or 64-bit version of Windows 7. The Windows 7 installation disc package includes both 32-bit and 64-bit versions of Windows 7. Basically, the 64-bit version of Windows handles large amounts of random access memory (RAM) more effectively than a 32-bit system. So if you plan on using Windows 7 on a computer with more than 3 GB or RAM, I would strongly suggest to use the 64-bit version. Most programs designed for the 32-bit version of Windows will work on the 64-bit version of Windows, and if they don't, you can always use Windows XP Mode.
Either way, you cannot use an existing 32-bit version of a previous OS to perform an in-place upgrade to a 64-bit version of Windows 7, and you'll need to format and install a fresh copy. Also, you cannot use an existing 64-bit version of a previous OS to perform an in-place upgrade to a 32-bit version of Windows 7.
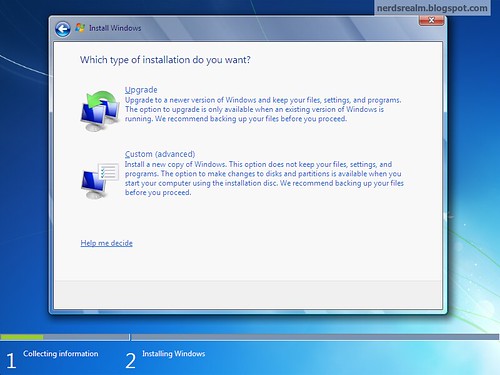
There are two options to choose from during the Windows 7 installation process:Step 1: Insert the Windows 7 CD into your CD-ROM drive and restart your computer.
Upgrade. This option replaces your current version of Windows with Windows 7, and keeps your files, settings, and programs in place on your computer.
Custom. This option replaces your current version of Windows with Windows 7, but doesn't preserve your files, settings, and programs. It's sometimes referred to as a clean installation for that reason.
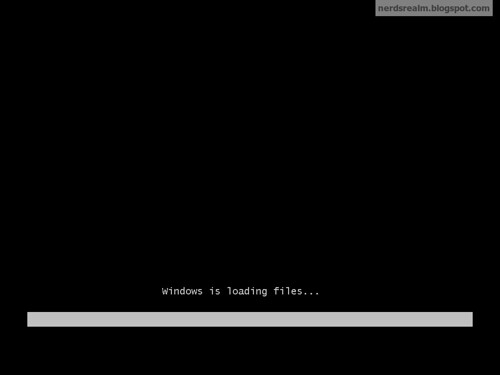
Step 2: The computer will prompt you to press any key to boot from the CD. Press a key on the keyboard to start the Windows Setup.

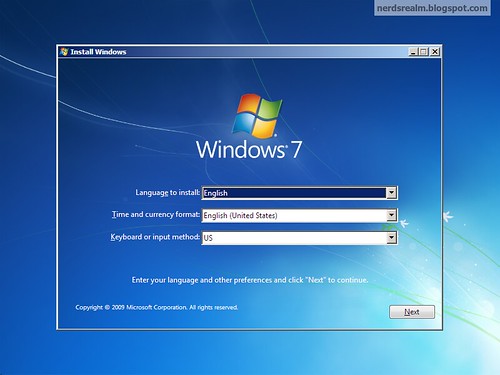
Step 3: Select your language, time & currency format, keyboard or input method and click Next.
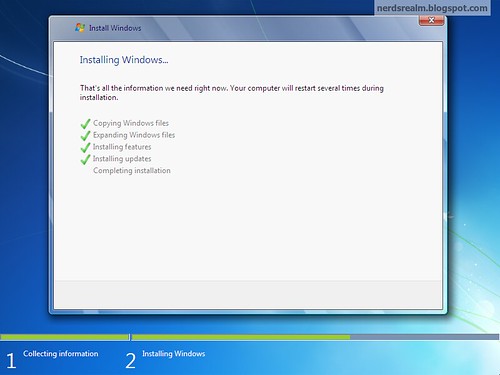
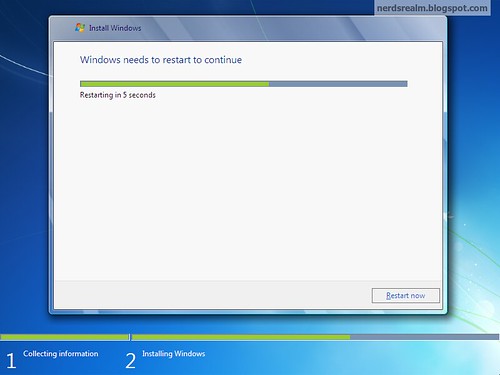
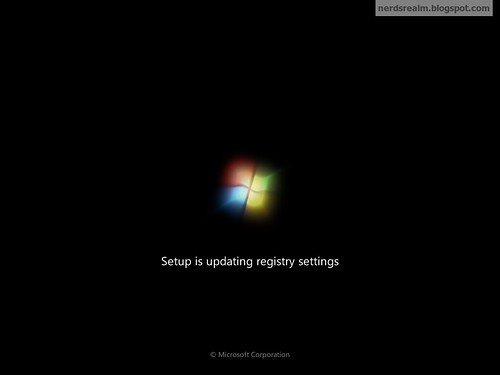
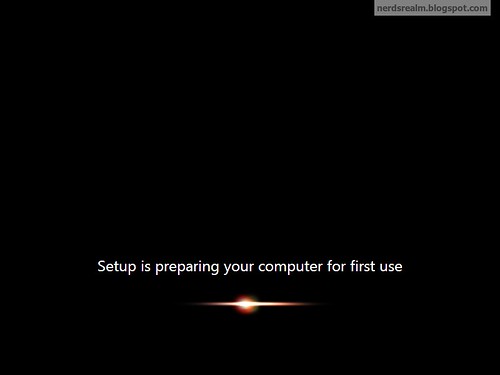
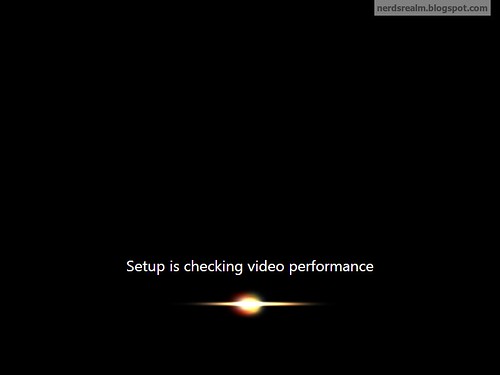
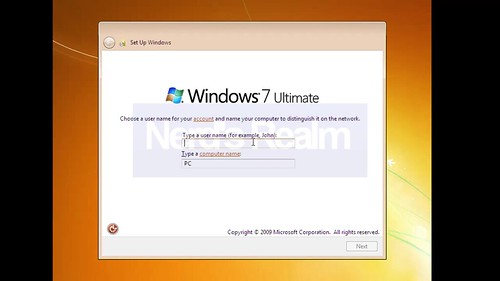
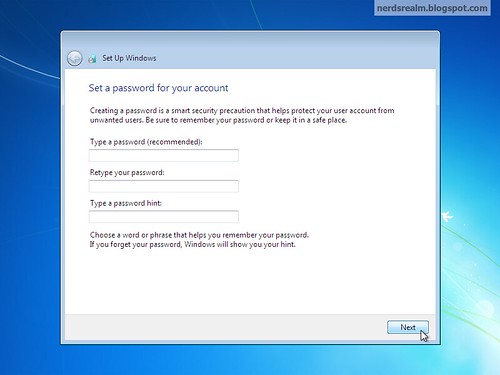
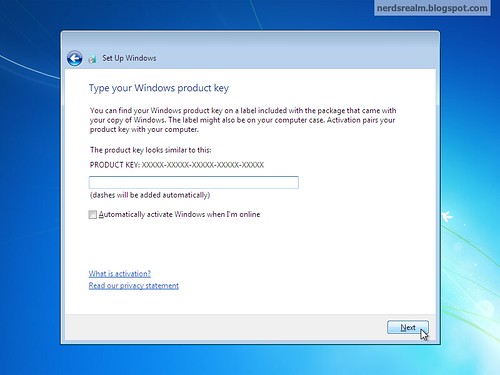
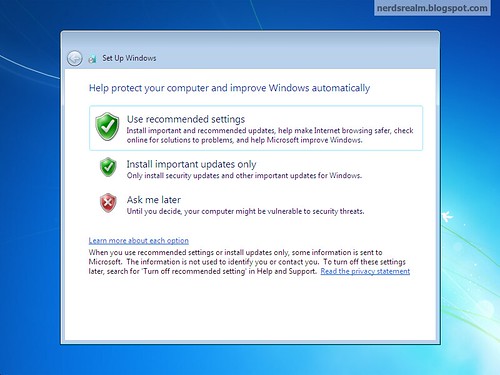
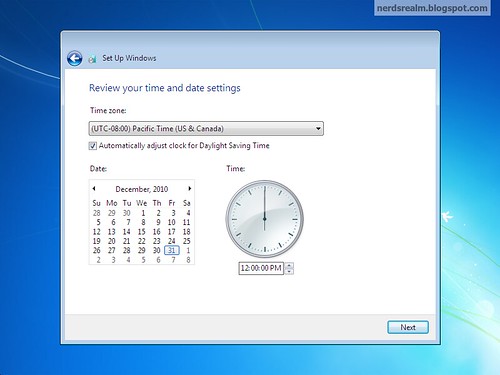
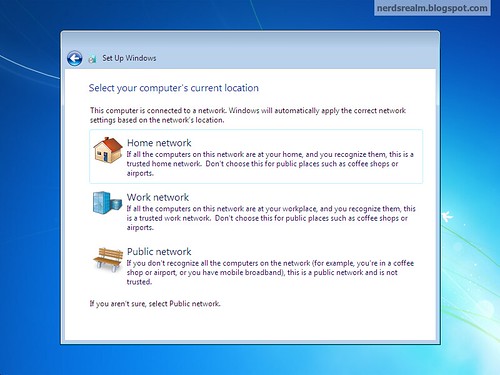
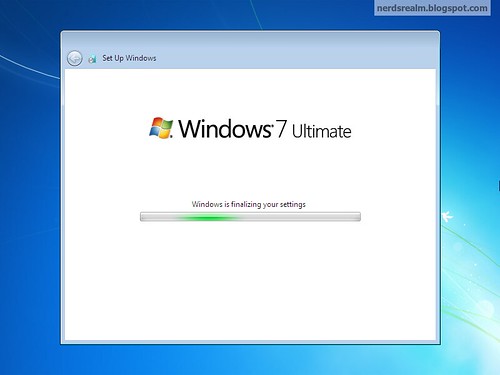
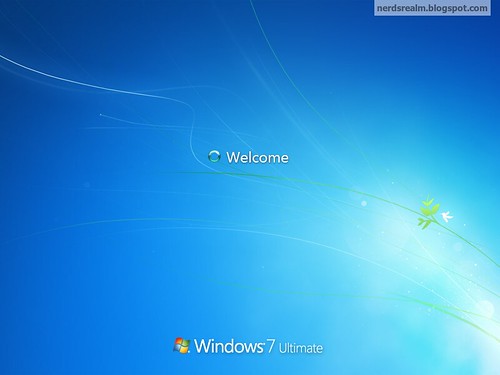
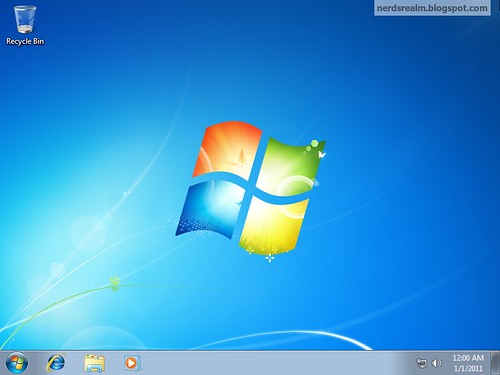
Congratulations! You have successfully installed Windows. You
can pat yourself at the back for being so patient throughout the installation.
You did it!


This comment has been removed by a blog administrator.
ReplyDelete