This tutorial is created by me. I have really worked hard on this post as I do in every other post so I have one request. Please show your appreciation by not stealing this post and do not copying it as is without giving me the credit for it. I would really appreciate it. Thank You!
Download:
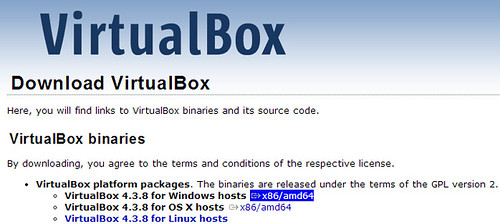
- Oracle VM VirtualBox Download the latest version of VirtualBox from https://www.virtualbox.org/wiki/Downloads
- Android x86 4.3 Image Download the Android 4.3 image from http://android-x86.googlecode.com/files/android-x86-4.3-20130725.iso
- Alternative link to Android image http://www.4shared.com/file/-13fwx4Tce/android-x86-43-20130725.html
- Another alternative link to Android image https://mega.co.nz/#!bQUUAZZS!KjeYWaVxLF8kL4duc0aU7boyzPecz1EKSgWNys35ycg
- Install VirtualBox latest version from the link given above and open VirtualBox

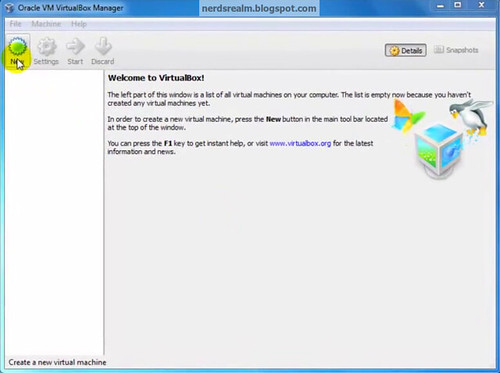
Step 1: Open VirtualBox and select New.
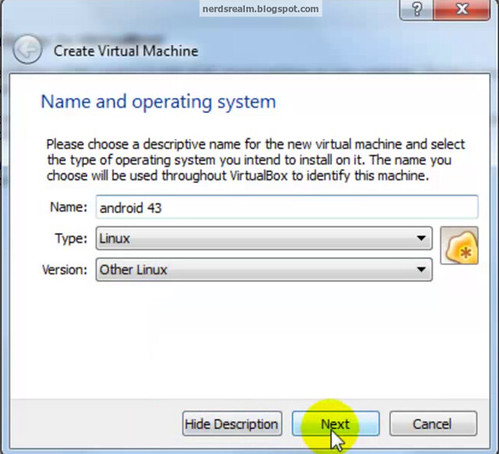
Step 2: In the dialogue box enter the name as you wish and Select type as Linux and version as other and click Next.
Step 3: Enter the amount of ram you would like to allot for the virtual machine and click Next . Android 4.3 requires at least 1 GB of ram but its not necessary.
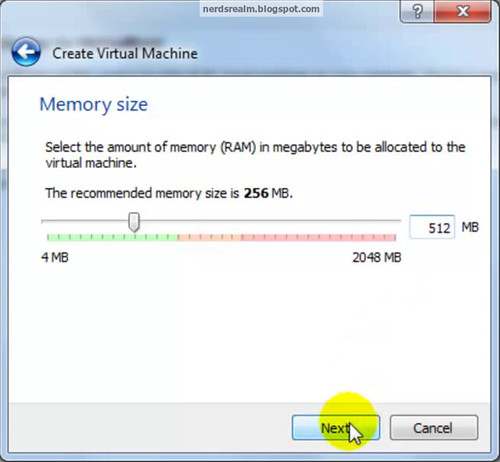
Step 4: In the next window select Create a virtual hard disk and click Create.

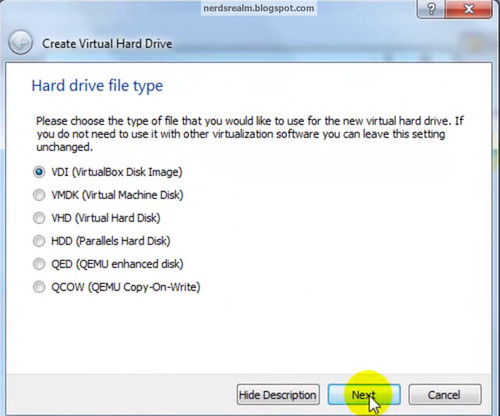
Step 5: Then select VDI and click Next
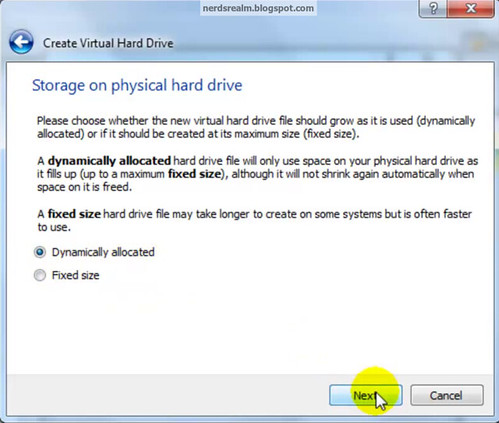
Step 6: In the next window, According to your space requirement you can either select dynamically allocated or fixed size for your storage space . I selected fixed size because I wanted to allocate only 4 GB of storage space to android .
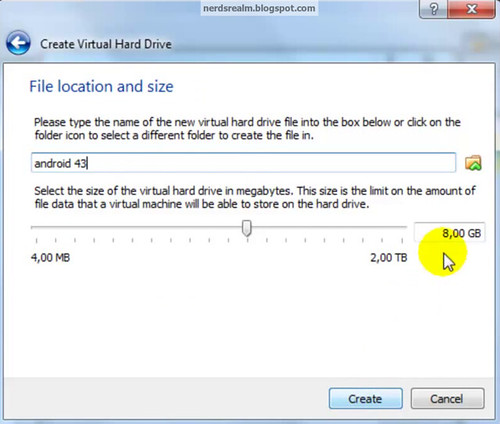
Step 7: Select storage space (Minimum 1 GB required for Jelly Bean)
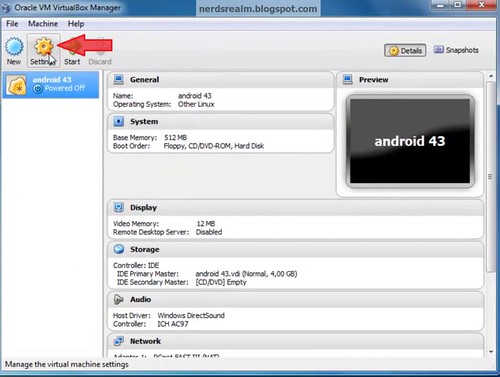
Step 8: Click on the settings button in VirtualBox .
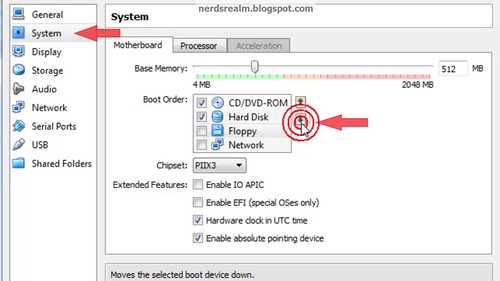
Step 9: Select System and under Motherboard tab select Floppy and untick mark the Floppy option. Using the down arrow key move the Floppy below Hard Disk.
Step 10: Select Storage, below the storage tree select empty.
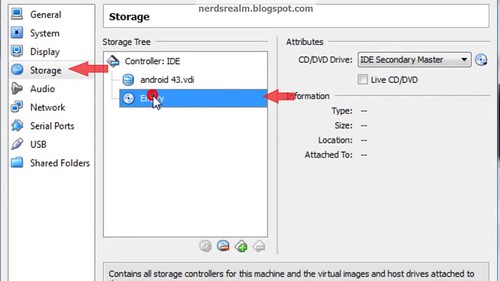
Step 11: Click on the disk image and select choose a virtual CD/DVD disk file.

Step 12: Select the android 4.3 .ISO image and click Open. Check the Live CD/DVD box and click Ok .

Step 13: Click Start to start the Setup.
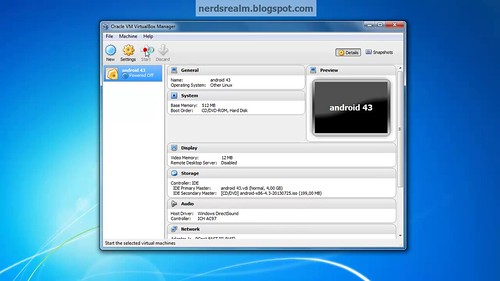
Step 14: In the screen select Install Android-x86 to hard disk.
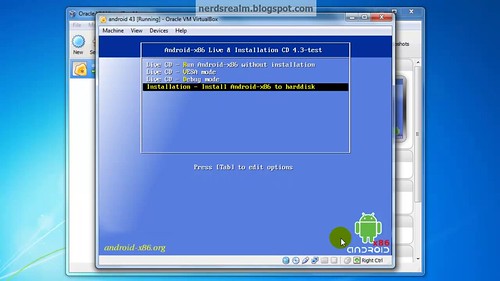
Step 14: Select Create/Modify Partition.

Step 15: Select New using your keyboard arrow keys.
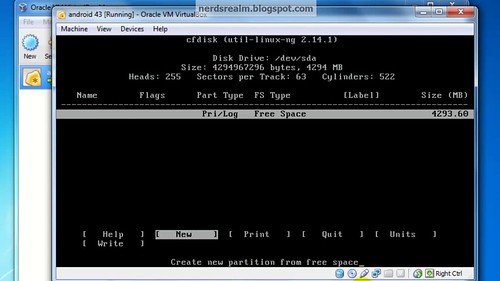
Step 16: Select Primary press Enter.

Step 17: Select Bootable and press Enter to make the drive bootable.
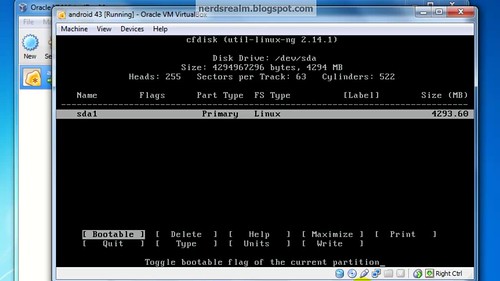
Step 18: Select Write and press Enter
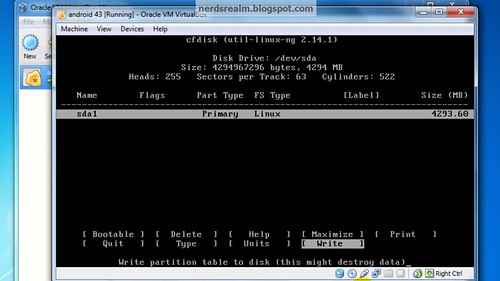
Step 19: Using your keyboard type the word Yes and press Enter.
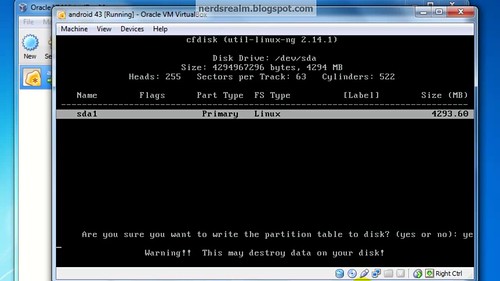
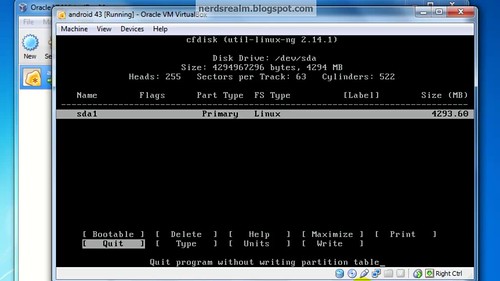
Step 20: Select Quit and press Enter.
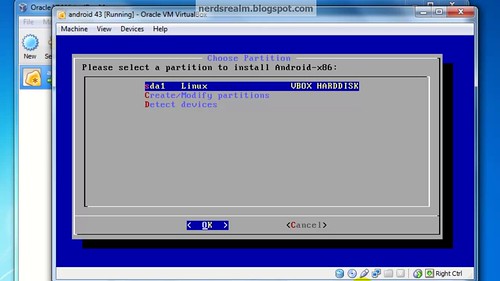
Step 21: Choose sda1 Linux and press OK.
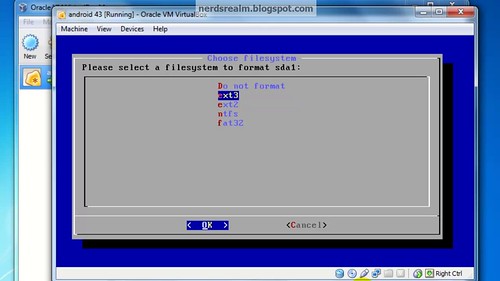
Step 22: Select ext3 and press OK.
Step 23: Select Yes.
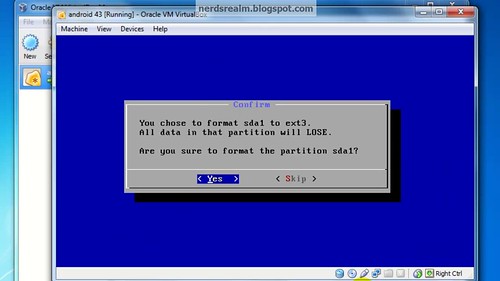
Step 24: When prompted to install grub loader select Yes.
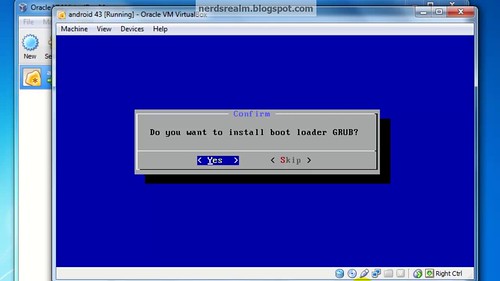
Step 25: Select Yes.
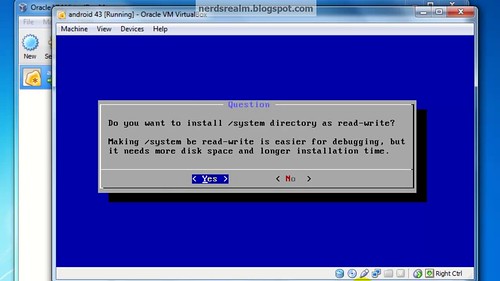
Wait for it...
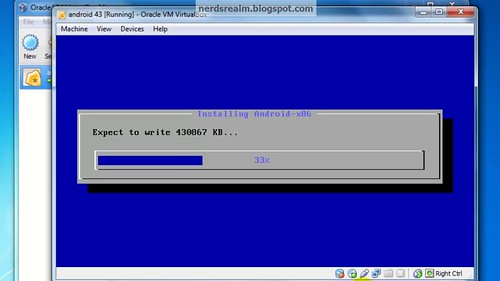

Step 26: Select Machine option on VirtualBox and click on Disable Mouse Integration while Android loads.

Select your language and follow the screen to set-up your Gmail account to your Android among other things.

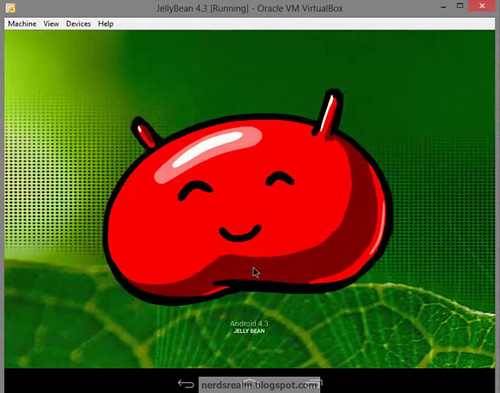
Voilà! Now you have successfully installed Android 4.3 on your windows computer
Here is a video to help explain the same procedure.


Here is a video to help explain the same procedure.

